 >
Android >
How to Backup and Restore Xiaomi Redmi Note 14/14 Pro
On 22 February 2018, in the first sale of the phone, the Indian division of Xiaomi claimed to had sold more than 300,000 Xiaomi Redmi Note 14 (Redmi 5 Plus) and Xiaomi Redmi Note 14 Pro units in less than three minutes and called it the biggest sale in the Indian history of smartphones.
Four methods are provide for you to select. You can also learn these from a video tutorial in more detail.
Method 1: With Syncios Manager's 1-Click Backup and Restore
Preperation:
To start backing up and restoring your Xiaomi Redmi Note 14, you need to download and launch Syncios Manager on your computer. Then launch Syncios and connect Xiaomi Redmi Note 14 to computer via USB cable, wait Syncios to sync.
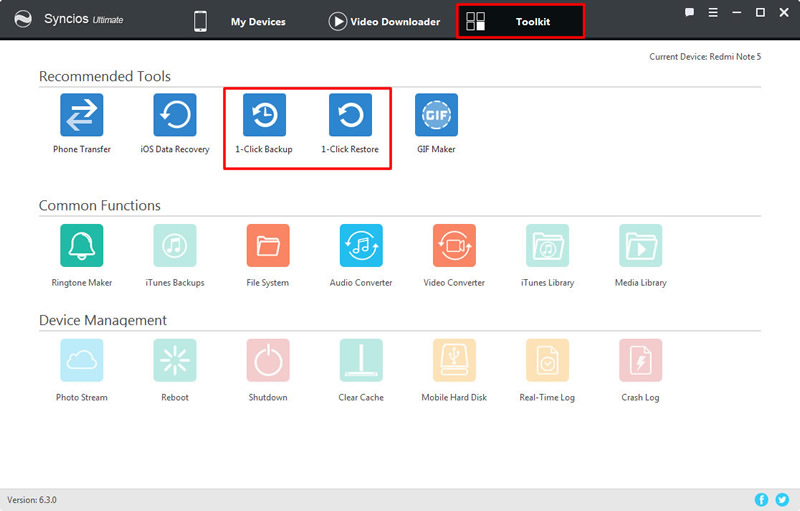
If you encounter any detection problem during the process, just click here to fix. Then select 'Toolkit' module, you will see '1-Click Backup' and '1-Click Restore' function. These are the functions that we need in the following steps.
1-Click Backup:
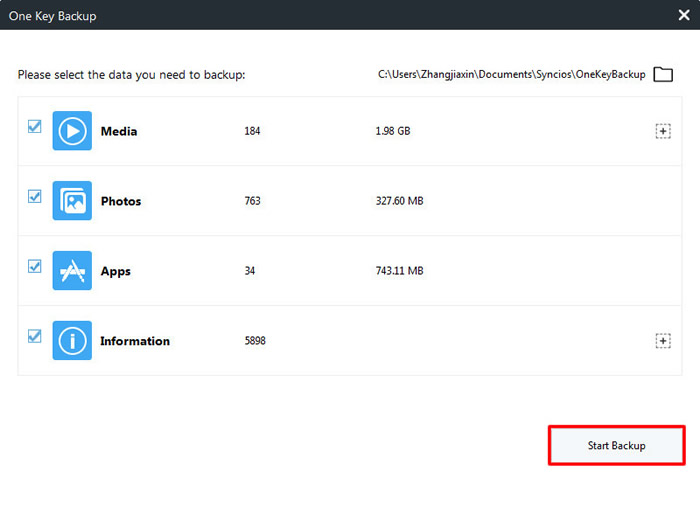
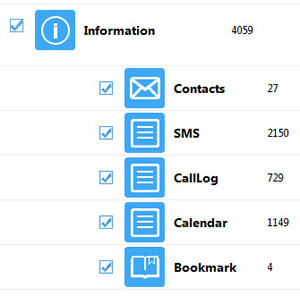
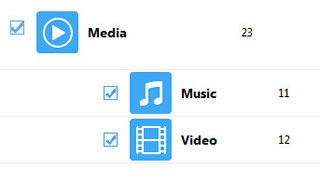
Click '1-Click Backup' and you will see four main options. You can click the expand button to select more detailed items to backup. Select the checkbox of each item and choose your saving route. Then click 'Start Backup' to launch your '1-Click Backup' process.
1-Click Restore:
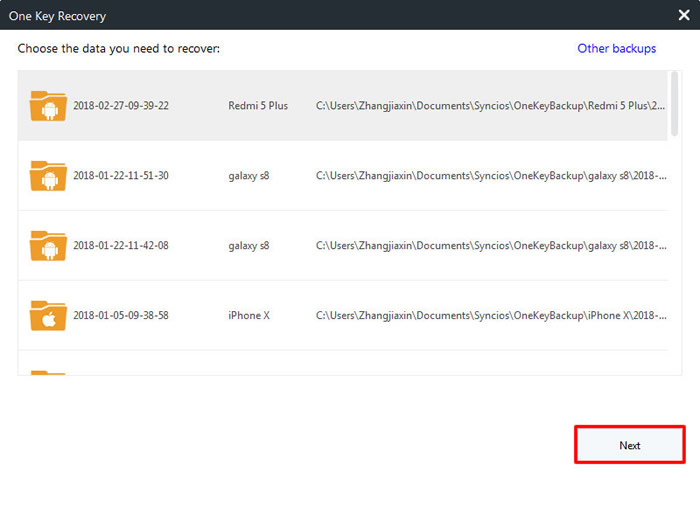
Click '1-Click Restore' and all the backups you've made by '1-Click Backup' will shown on the interface. Select the one you want and choose the specific items you would like to restore back to your Xiaomi Redmi Note 14. Finally, click 'Start Recover' to launch the '1-Click Restore' process.
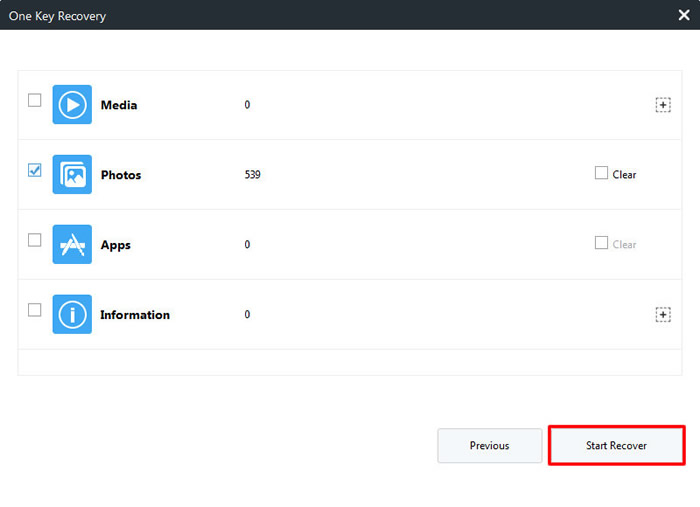
Tips: If you click on the expand button behind 'Information' and 'Media', you will see more items under these categories.
Method 2: Select Contents by manual
For whom want to select their willing items to transfer, Syncios Manager might be their best choice. Let's see how to use it.
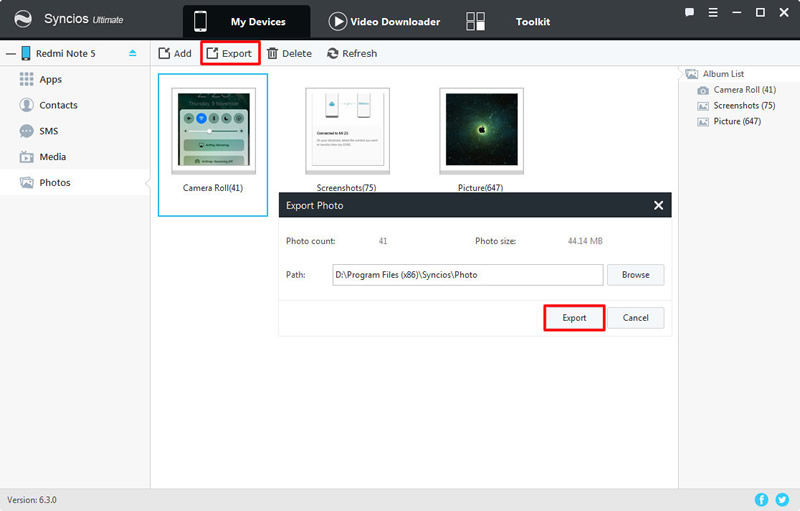
Export Contents: Choose the category you want to backup for. Syncios supports to backup both file and folder. If you want to backup the whole folder, just select the certain folder and click 'Export'. For them who want to backup the certain item can double click the folder to select multiple contents of your willing, then click 'Export' to backup.
Import Contents: Choose the category you want to restore. Click 'Add' button which locates in the menu bar. You can import files or folder of your willing, select the content and click 'OK'/'Open' to start transfer.

Method 3: Backup & Restore data by Syncios Data Transfer
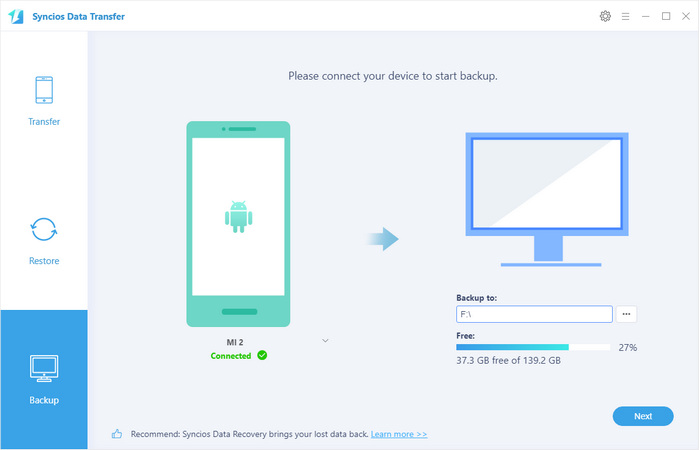
Backup Xiaomi Redmi Note 14: Select 'Backup' option. Once the system finish to synchronize your Xiaomi Redmi Note 14, the content of your phone which are available to backup will show in the option box. Choose the content you want and also select your saving path. Click 'Next' at last and wait till complete.
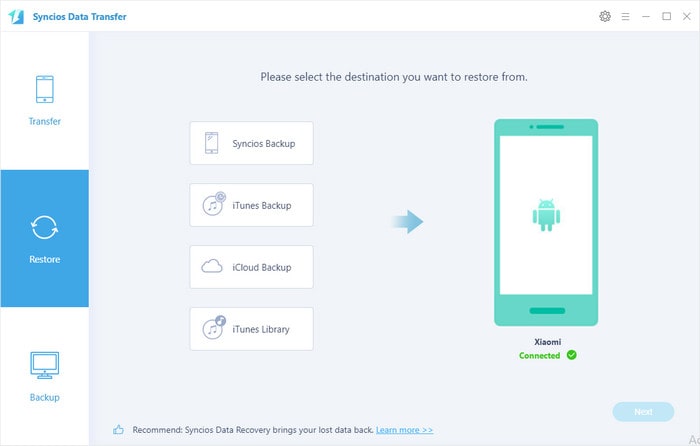
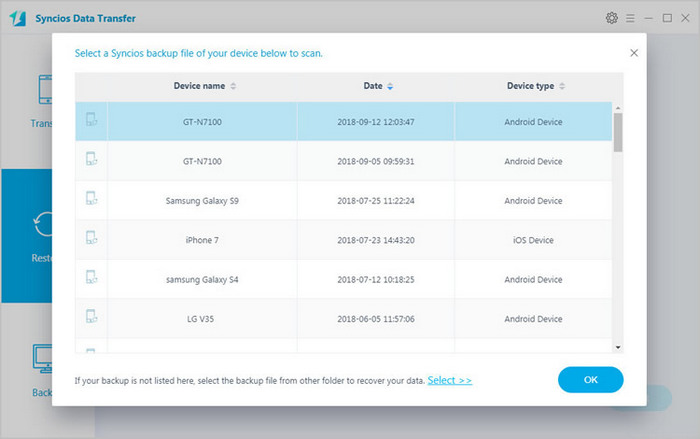
Restore Syncios backups to Xiaomi Redmi Note 14: Select 'Restore' option and choose "Syncios Backup". Once the system finish to synchronize your Xiaomi Redmi Note 14, the backup file you have made before will show on the left panel. Select the backup file you want, then click 'OK' to wait till complete.
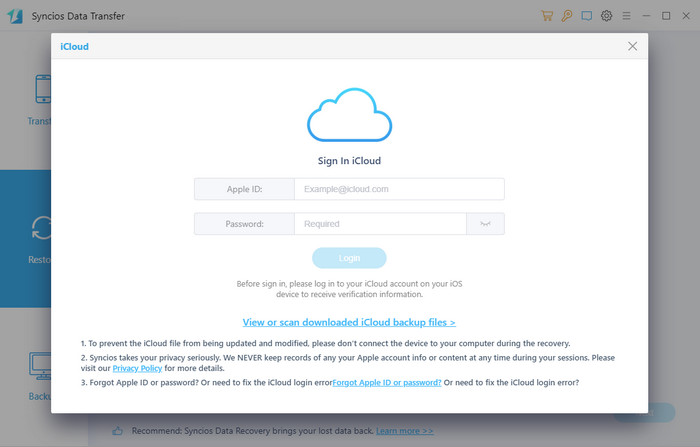
Restore iCloud backups to Xiaomi Redmi Note 14: Select 'Restore' option and choose "iCloud Backup". You may need to login in your iCloud account if this is the first you use Syncios, and download iCloud backups. Then select the files you want to restore and “Next” to transfer.
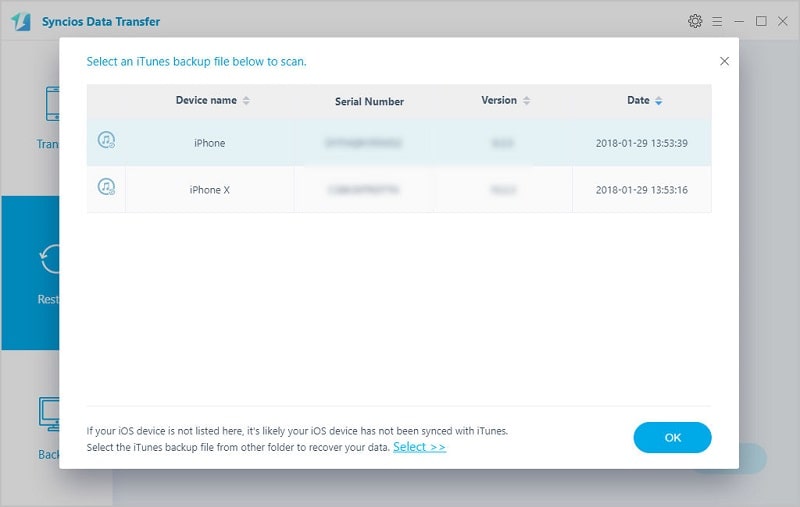
Restore iTunes backups to Xiaomi Redmi Note 14: Select 'Restore' option and choose "iTunes Backup". If you used iTunes to backup your iOS device before, then you are allowed to use this function. Then select the files you want to restore and "Next" to transfer files.
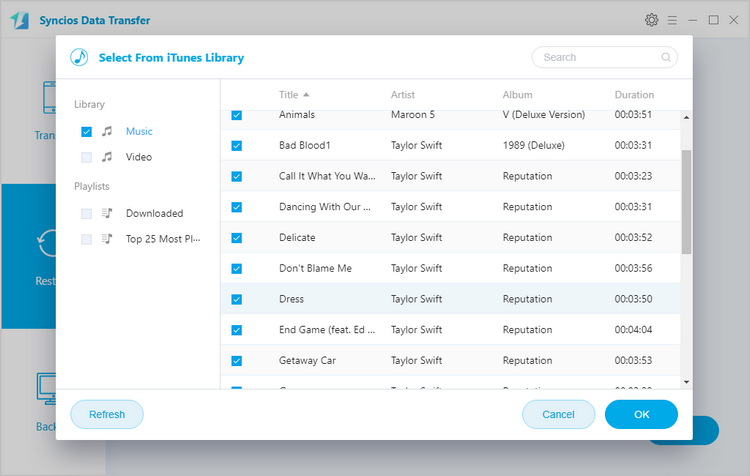
Restore iTunes music and playlist to Xiaomi Redmi Note 14: Select 'Restore' option and choose "iTunes Library". Your iTunes music files will show on the next interface. Select the contents you want and click 'OK'.
Tips: Connect your Xiaomi Redmi Note 14 to computer through USB cable or using Wi-Fi if condition permits. Any detection problem, please check our Android tutorials. When using Wi-Fi to connect, Xiaomi Redmi Note 14 and computer must access to the same network.
You can start from a Video Tutorial:

